Posts

Showing posts from September, 2021

CD 4017 Automation with IR Receiver and audio Input

Image
 

Automatic pump control

Image
 

Text to speech application with pyttsx3 python module

  from tkinter import * from tkinter import ttk from tkinter.scrolledtext import ScrolledText from tkinter.messagebox import showinfo import pyttsx3 root=Tk() root.title( "Text to Voice Converter App" ) #title of the Application root.iconbitmap( 'python_icon1.ico' ) #icon of the Application root.geometry( '355x370' ) # Application window size root.configure( bg = '#f08c0a' ) #Application backgroud color info_label=Label(root, bg = '#07fa48' , fg = 'black' , text = "Enter your Text below" , font =( "Georgia 16 bold" )) info_label.grid( row = 0 , columnspan = 3 , pady = 5 ) # Create a function for text to speech def speak(): engine=pyttsx3.init() audio_string=my_text.get( '0.0' ,END) if audio_string: engine.setProperty( 'rate' , 125 ) # Speech speed voices=engine.getProperty( 'voices' ) engine.setProperty( 'voice' ,voices[ 1 ].id) # female voice

Controlling GPIO pins of ESP8266 via Local Web Browser with Python Tkinter buttons

Image
https://github.com/anokhramesh/Local-Webserver-Application

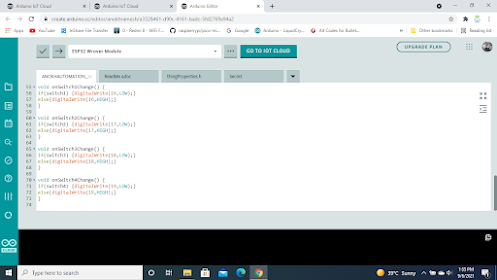
Arduino IOT Cloud Automation with ESP32

Image
/*    Sketch generated by the Arduino IoT Cloud Thing "HomeAutomation"   https://create.arduino.cc/cloud/things/79deb777-3561-4c89-b2b3-8cf67ac826e3    Arduino IoT Cloud Vssh ariables description   The following variables are automatically generated and updated when changes are made to the Thing   bool switch3;   bool switch4;   bool switch2;   bool switch1;   Variables which are marked as READ/WRITE in the Cloud Thing will also have functions   which are called when their values are changed from the Dashboard.   These functions are generated with the Thing and added at the end of this sketch. */ #include "thingProperties.h" void setup() {   pinMode(16, OUTPUT);  # connect relay 1 to pin RX2  of ESP32   pinMode(17, OUTPUT);  # connect relay 2 to pin TX2  of ESP32   pinMode(18, OUTPUT);  # connect relay 3 to pin 18  of ESP32   pinMode(19, OUTPUT);  # connect relay 4 to pin 19  of ESP32   // Initialize serial and wait for port to open:   Serial.begin(9600);   // This

Pyfirmata Automation Application

Image
 #Control 4 Relays by Pyfirmata App in Python Programming #Open Arduino IDE,Go to File-Example -Firmata-StrandardFirmata #Upload the Sketch to Arduino board # Connect Arduino Digital pins 9,10,11 and 12 to 4 channel Relay Module asper the circuit Diagram # Open IDLE or any other Python Editor on your computer. # write the Python Code attached below. from tkinter import * from pyfirmata import Arduino, util#importing Arduino and utility from pyfirmata module board = Arduino('Com11')# Create a variable name board and assign the Arduino board and COM Port root=Tk() root.geometry('500x600') root.title("PyFirmata App") root.iconbitmap("python_logo_icon.ico") Appname=Label(root,text='WELCOME TO ANOKHAUTOMATION',fg='purple',bg='white',font="Georgea 20 bold") Appname.pack(pady=10) root.configure(background="yellow") on_image =PhotoImage(file='Toggle-off-96.png') off_image =PhotoImage(file='Toggle-on-96.